
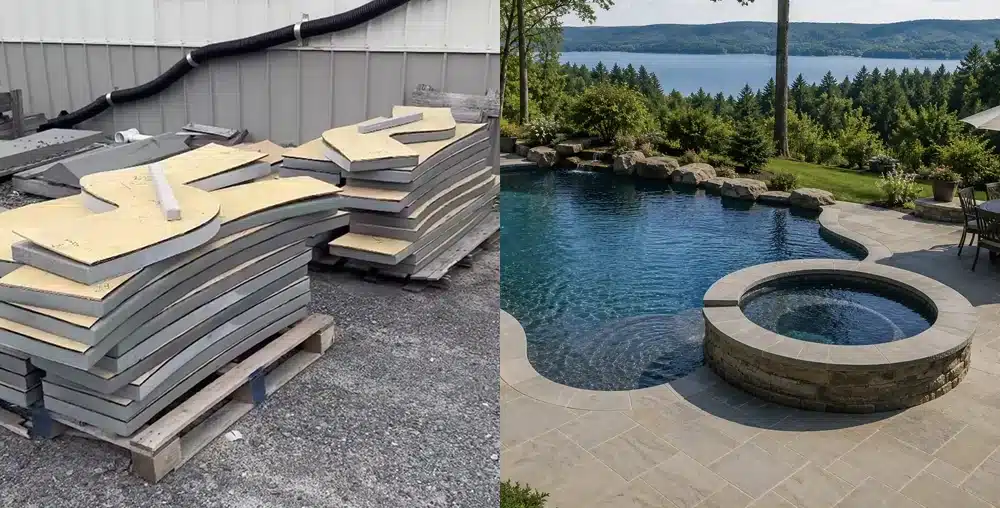
Ordering Curved Pool Coping: A Template and Piece-Numbering Checklist
The receiving fabricator’s current templating and submission specification controls a curved pool coping order. Obtain it before making templates or assigning piece numbers. The checklist below is only a coordination and pre-submission aid. It is not a fabrication-ready method, does not define accepted template materials or tolerances, and cannot replace the fabricator’s review, the pool builder’s field verification, or the installer’s approval.
Control the document before the curve
Create a cover sheet with project name, drawing number, revision, date, preparer, units, pool orientation, and the fabricator’s current specification reference. Give every plan, template segment, photograph, and schedule the same revision. A beautifully traced curve can still fail if it belongs to an outdated pool condition.
The pool builder and installer should identify the stage when the receiving geometry is stable enough to verify. Preliminary design dimensions may support budgeting but should not be relabeled as field verified. Record unfinished work that could change the bond beam, tile, liner track, cover track, deck, joint layout, or finished elevations.
Template package architecture
| Document | Purpose | Minimum control |
|---|---|---|
| Orientation plan | Shows the whole pool and the sequence of pieces | North or site reference, pool side, deck side, clockwise direction, fixed start point |
| Full-size templates or approved digital data | Defines individual receiving shapes by the fabricator’s method | Piece ID, orientation, match lines, control dimensions, revision |
| Piece schedule | Reconciles every physical piece with requirements | ID, quantity, profile, width, thickness information, exposed faces, special notes |
| Control-dimension sheet | Provides checks independent of traced shape | Required chords, radii, arcs, centerlines, offsets, or coordinates |
| Photo index | Connects unusual conditions to the plan | Photo number, viewpoint, scale reference, matching piece ID |
| Approval and transmittal record | Prevents silent revision drift | Submitted revision, date, recipient, comments, approved revision |
Orientation marks that must survive handling
- Pool side and deck side
- Top face and bottom face when required by the fabricator
- Clockwise sequence direction
- Fixed starting location tied to a recognizable site control point
- Start and end of each template segment
- Match lines across any joined or overlapping sections
- Piece ID repeated on the template, plan, schedule, and photo index
- Revision and date on every separate component
Ask the fabricator how marks should be applied and how templates may be folded, rolled, supported, digitized, or shipped. Some materials can stretch, shrink, crease, or distort. Do not assume that a convenient template medium is acceptable.
Distortion checks
A traced outline needs independent dimensions that reveal whether it changed after removal or transport. Use only the types of checks requested by the fabricator. These may include straight baselines, known control-point distances, chords across curves, radii from agreed centers, diagonal checks, or coordinate references. Record units explicitly.
Recheck the template after assembly and before transmittal. Match lines should align without forcing the material. A scale bar alone is not enough if a print process can resize one axis. If digital files are required, confirm file format, coordinate origin, drawing scale, units, layer naming, and whether paper or field checks must accompany them.
Piece numbering should tell an installation story
Choose a simple sequence from the fixed start point and proceed in the marked direction. Keep IDs unique. Avoid renumbering after approval; if a piece changes, use the revision convention accepted by the fabricator. A special corner, transition, skimmer, cover-track condition, or penetration needs its own identity rather than an informal note floating beside several pieces.
The piece schedule should include each ID once and the plan should show each scheduled ID once, unless the documents explicitly state a repeated quantity. Reconcile counts in both directions. Every plan piece must appear in the schedule, and every schedule line must have a plan location and corresponding template or approved data.
Profile and exposed-face control
Show coping width, intended overhang, joint width, edge profile, exposed faces, and transitions according to approved project details. Curved geometry does not by itself communicate which side receives a finished edge. Use section details at typical and special conditions. Do not invent a fabrication tolerance or assume a profile is offered; the current quote and fabricator acknowledgment must confirm scope.
The pool coping overview can help frame edge and format questions. It does not supersede order-specific documentation or establish current fabrication capability, inventory, dimensions, or timing.
Revision-control drill
Suppose the cover track changes after preliminary templating. Do not mark only the affected paper segment and leave the orientation plan untouched. Issue a new coordinated revision. Update the plan, affected template or digital file, piece schedule, detail, photo index, and transmittal. Identify what changed and withdraw the superseded package from fabrication consideration.
If field conditions and approved design documents conflict, stop. The pool builder, designer, installer, and fabricator should resolve the discrepancy in their areas of responsibility. A template records geometry; it does not approve structural support, waterproofing, code clearances, or the pool system.
Final pre-submission reconciliation
- Confirm the fabricator’s current specification and accepted submission method.
- Verify field-measurement status and unfinished dependencies.
- Match revision, date, units, and orientation across every document.
- Check templates against required independent control dimensions.
- Reconcile plan IDs, schedule IDs, template IDs, quantities, and photographs.
- Verify typical and special profiles, exposed faces, overhangs, and joints.
- List unresolved conditions instead of representing them as approved.
- Obtain project-team review and the fabricator’s written acknowledgment before release.
A controlled package should allow a reviewer to pick any piece ID and trace it from pool location to geometry, profile, photograph, revision, and approval. If that trace breaks, the order is not ready to release.